We set aside time and money to renovate one bunker per season. We figure at that rate, all bunkers will be renovated once every 14 years. Most bunkers are figured to last just 7-10 years before a renovation is needed. This year's staffing at our course was a little light, we had one of our students come back in a very limited role, as he was taking classes, and another was working at an internship, which eventually caused him to leave earlier than planned. This prevented us from starting one of our yearly project that we budget for, renovating a bunker. Once our one student finished up his classes, and we were able to replace our other student, we set out to get that bunker renovation done before all of our summer students, headed back to school and those that stayed in town, would revert to their limited work schedules.
We have just 14 bunkers on our course, and we have renovated all but 3 of them in the past 10 years. One greenside bunker and our two fairway bunkers, since they haven't been holding water. The first 9 bunkers we did, we would clean out the old sand, clean out the drain, or replace it if needed, and then add fresh sand. We had been using the same sand that we topdress with.


Both the above pictures have bunkers containing fresh topdressing sand. These bunkers were renovated in 2015.
In 2016, our three course facilities decided to switch sands to a little heavier coarser "Osage Bunker Sand" I wasn't a big fan of it, more so because the price was double, and there was some concern when it got splashed out on to the green, it wasn't the same sand as our topdressing sand. But bunkers with higher slopes and the topdressing sand also became contaminated with silt and clay when it would wash off the slopes in high rain events. This contaminated sand was finding it's way onto our greens areas also. Since the switch, we have noticed there has been less movement of the sand in heavy rain events. If we see the sand starting to affect greens performance, we will go in to those areas and core aerate to remove the poor material and place fresh sand in its place.


Bunkers with the Osage Bunker Sand installed. The two top pictures show the built up lip that we failed to remove. The top bunker was renovated in 2016, the bottom picture 2017.
We installed this new sand in our first bunker in the summer of 2016, and found it wasn't washing out with the heavy rains, we did our second bunker in 2017. We just did our third bunker with this sand last week, and we are really excited to see how it works in this bunker, as it has one of the higher slopes. This bunker was actually the first bunker we had refurbished in 2008, our first bunker renovation since I had arrived in 2003. I'm sure I have pictures on a disc somewhere, since it was done back before we had cameras in our phones.


The above pictures show before we started the renovation. The topdressing sand in the bunker had been washed off the back slope many times, causing it to become contaminated with clay and silt. Also in the middle picture the build up on the edge can be clearly seen.
The one big difference we did with this recent bunker renovation, was take down the sand that had built up on the lip area where we would enter and exit the bunker. On previous renovations, we had failed to remove that sand build up, but as we continue to renovate bunkers with our new "Osage Bunker" sand, we will knock down those lips.


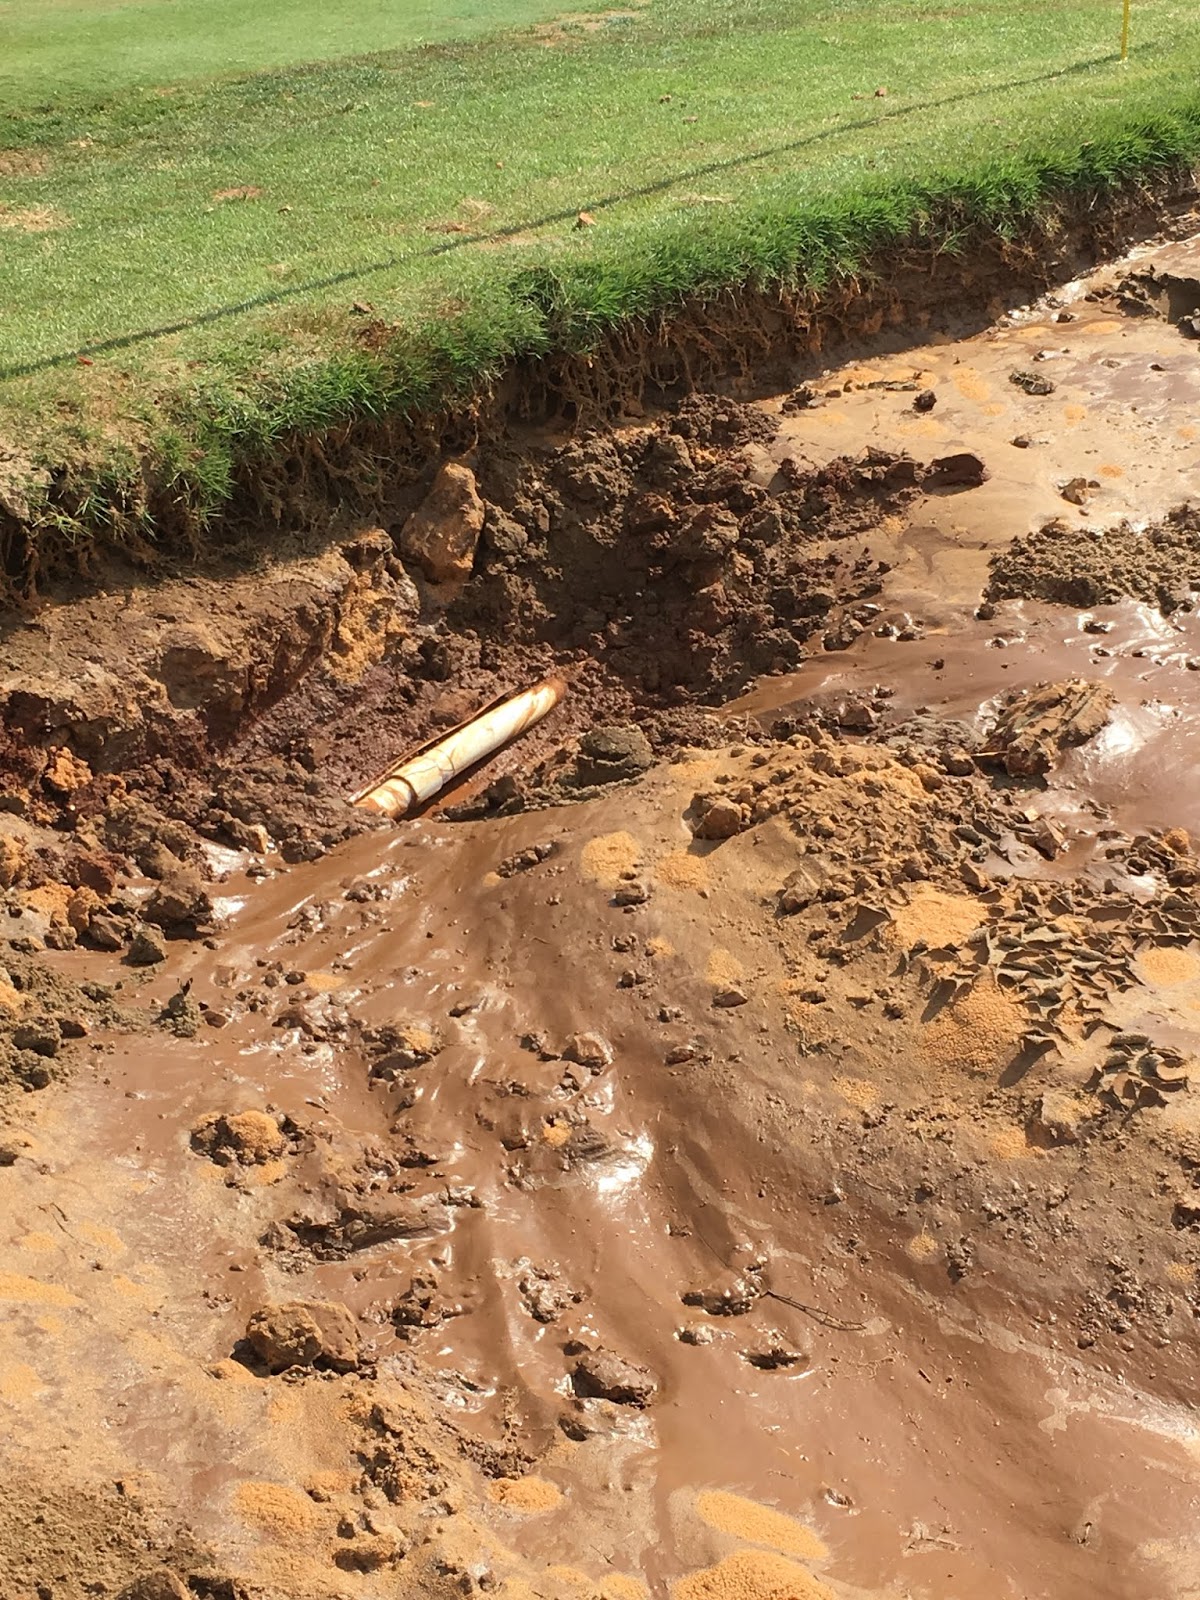
In the above pictures, it shows the rock and clay in the base of the bunker. The middle picture is the drain pipe that the original contractor used, PVC sewer pipe. We replaced it with black perforated pipe and back filled the trench with fresh pea gravel. Yes, that is an irrigation line there in the corner of the bunker which we hit and had to repair.


The finished product. We stole some zoysia sod off our lowest driving range tee, that rarely gets used, for that first strip. We then took some fescue sod out of our turf plots for the next few passes, and then feathered out the slope and seeded with fescue. Just using what we had available on hand to finish the project. I estimate the cost to be about $1,300 not counting labor.
We will continue to look into renovating a bunker per year as our budget allows. The other main projects we try to do yearly is to relevel some tees and top with fresh sod, and we are also looking into adding some tees for Seniors.
Thanks for reading!
Mel
No comments:
Post a Comment